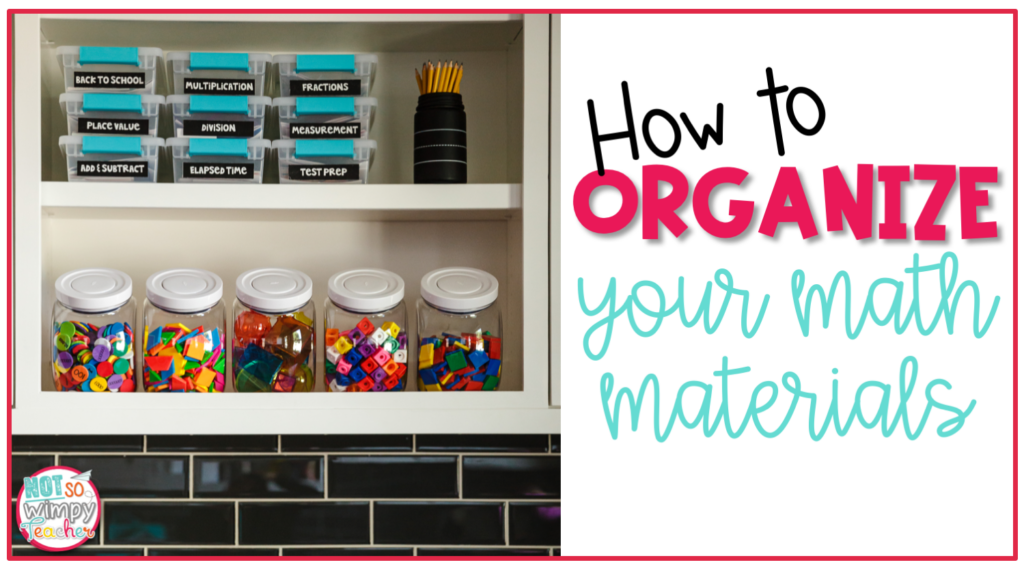
Teaching math can be a lot of fun, especially when you use math workshop. Manipulatives, centers, games, project based learning . . . there are so many great ways to engage students and help them understand math concepts. But figuring out how to store all those math materials can be overwhelming. So, today I’m sharing my best tips for how to organize your math materials.
I’ll show you how to organize your curriculum, manipulatives, and centers for maximum efficiency. Trust me, if you take a little bit of time to organize your math materials now, you will be thanking yourself all year long!
Organizing Curriculum
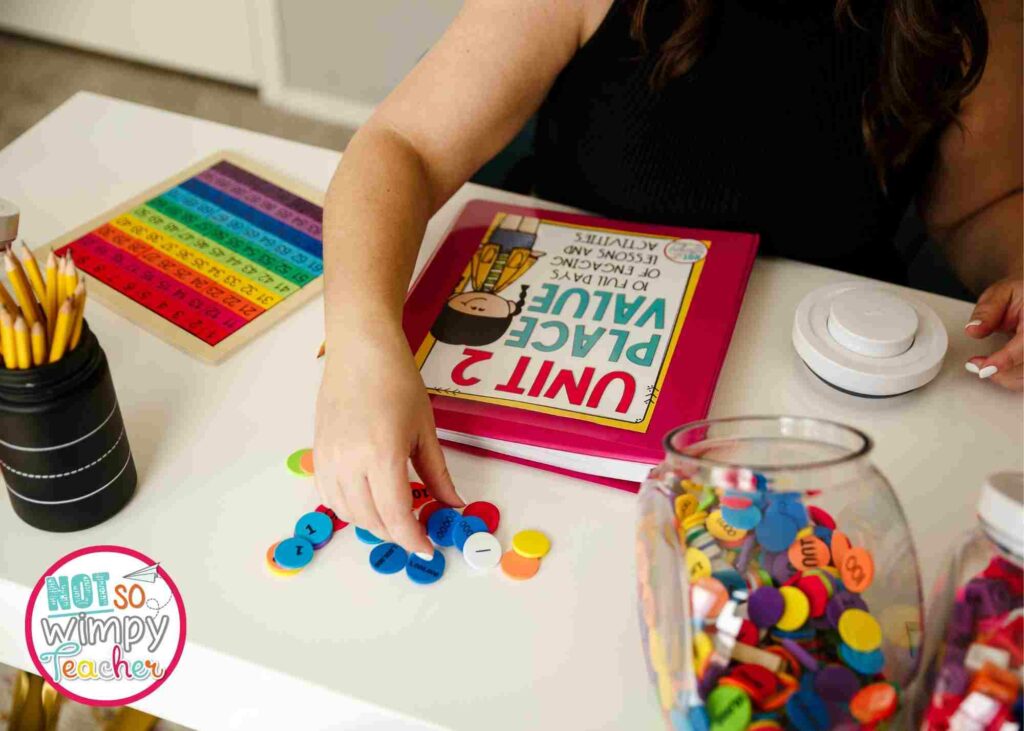
Your math program starts with your math curriculum. So that’s where I’ll start too.
Whether you are using your school’s required curriculum or you are lucky enough to use the Not So Wimpy Teacher second, third, fourth, or fifth grade math curriculum, I know your math program has a lot of different pieces. You’ve got lesson plans, anchor charts, vocabulary, problem sets, homework pages, tools and resources, and assessments. If you’re lucky, you’ve also got PowerPoint slides, small group lesson plans, interactive notebooks, intervention and enrichment activities, exit tickets, answer keys, and more. That’s a lot of paper to keep track of!
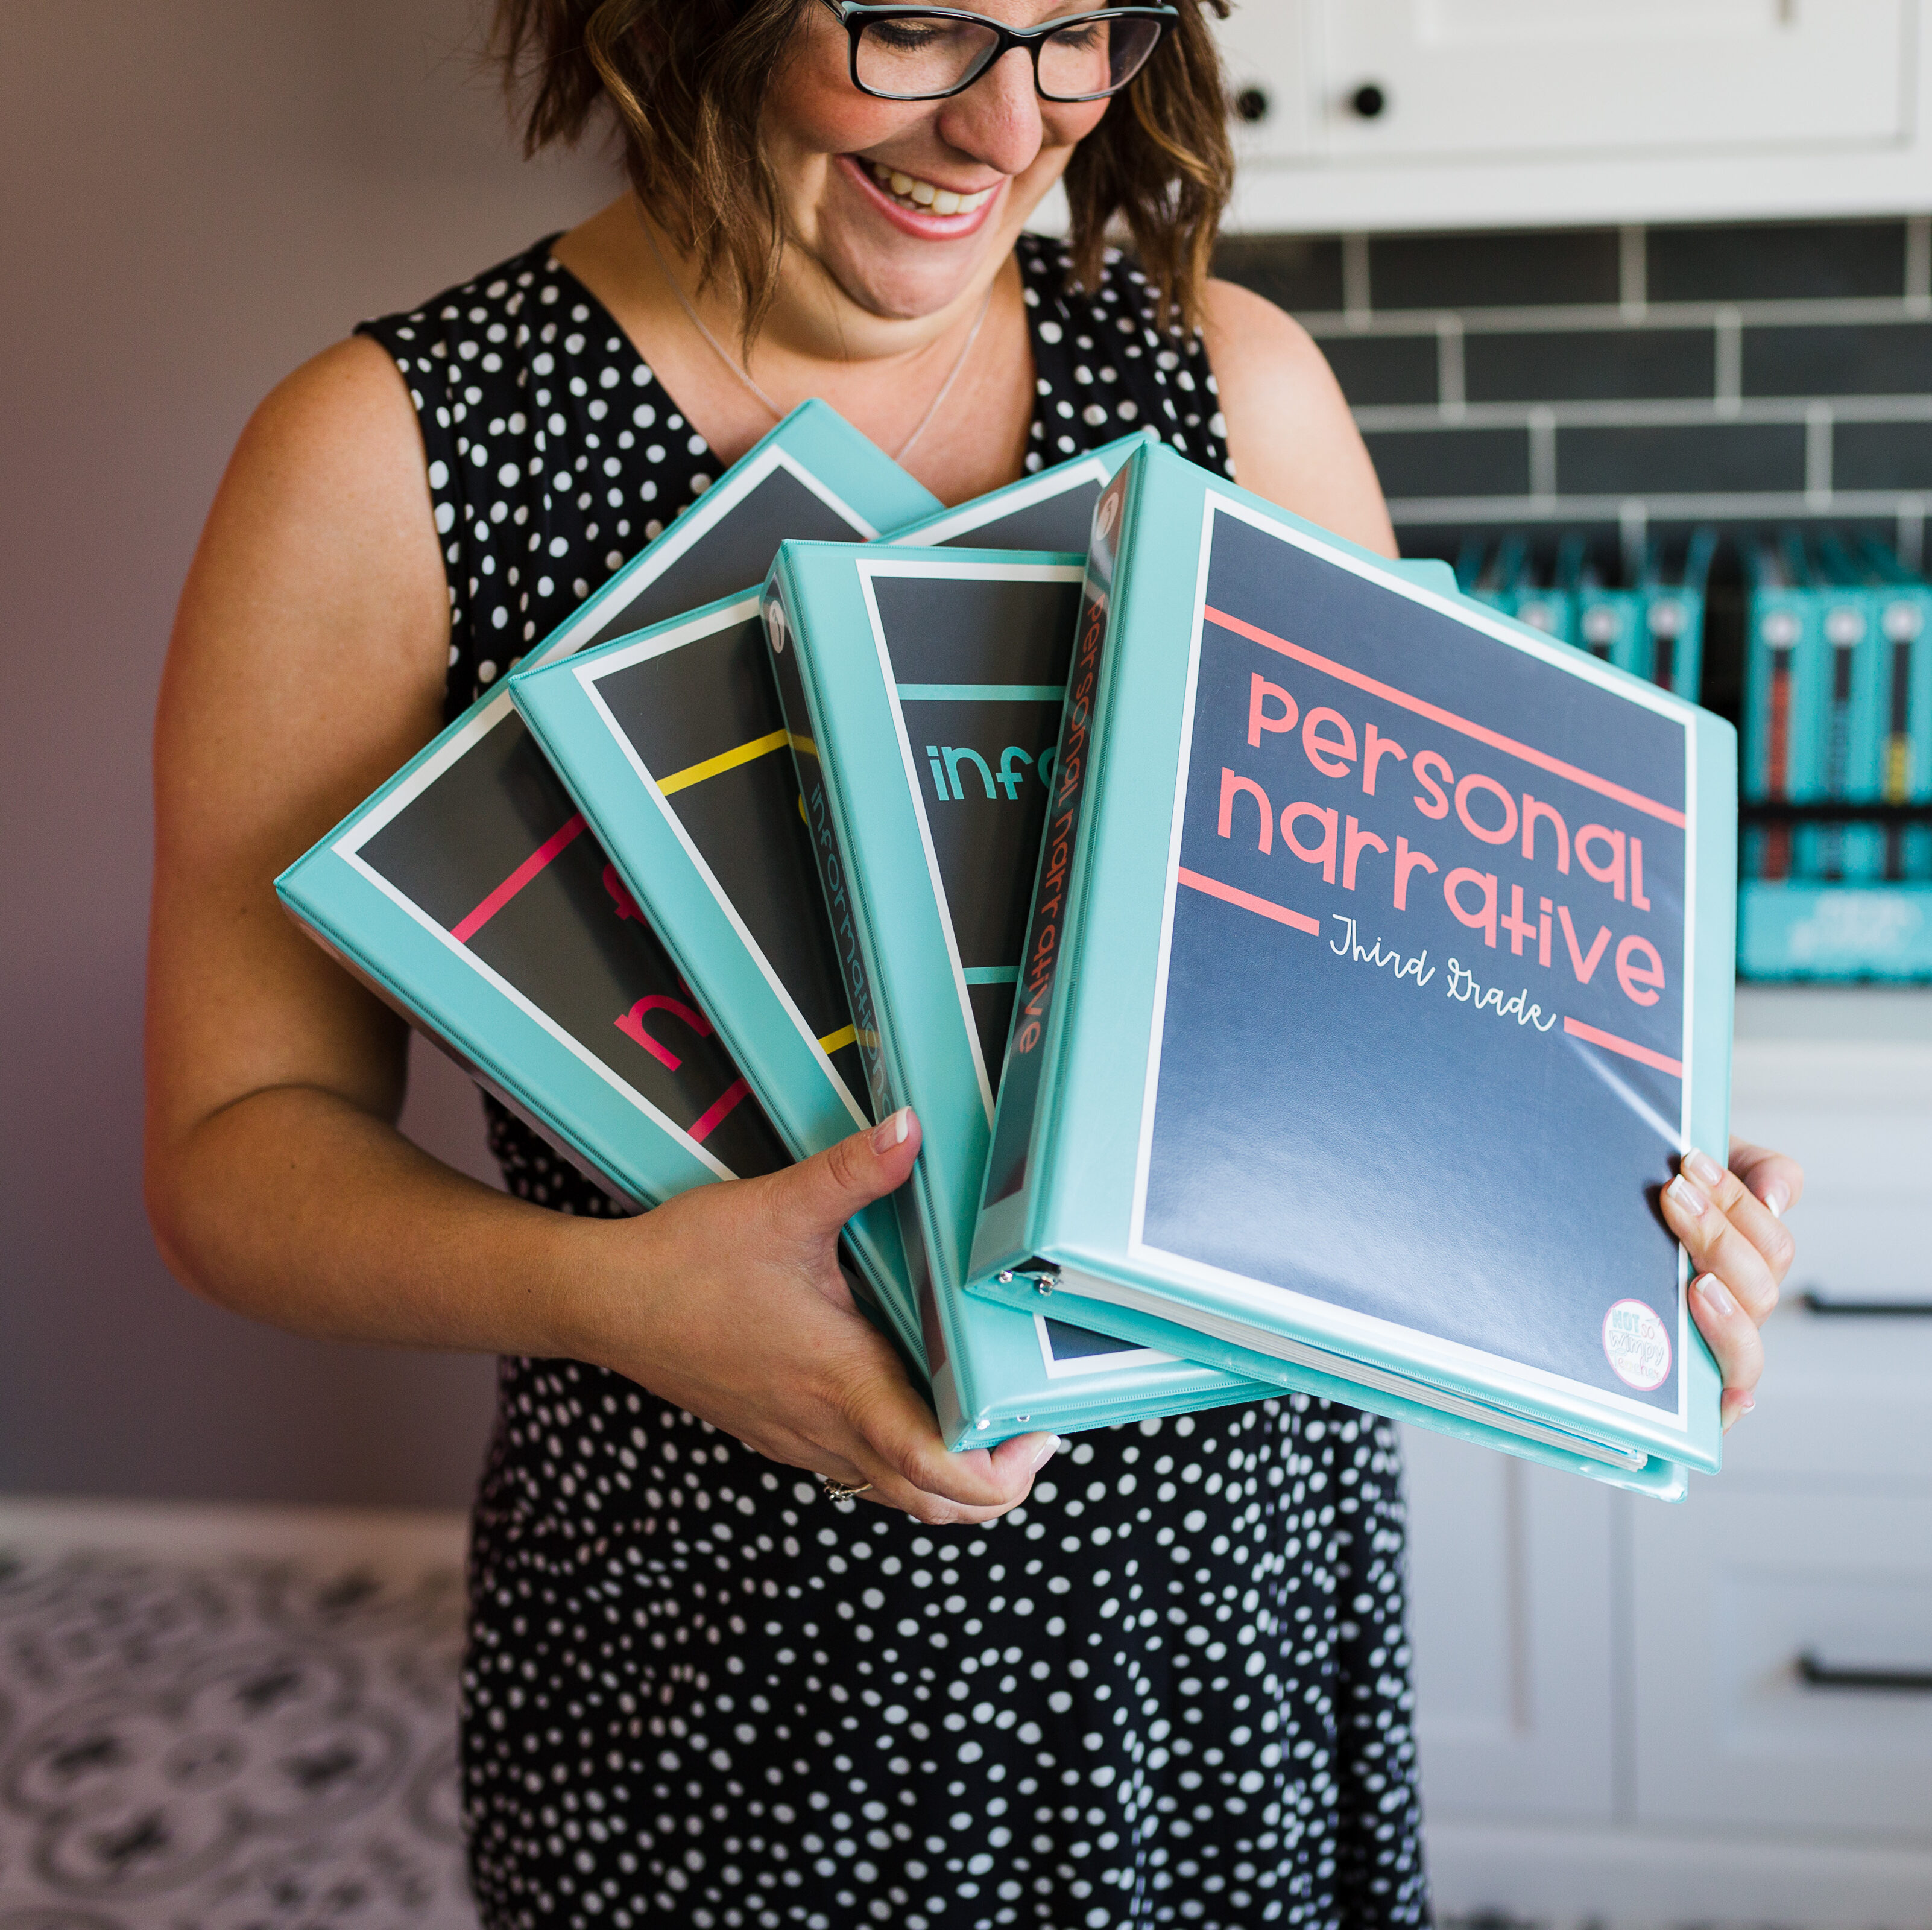
I recommend that you organize your math materials by unit. There is no way you can collect an entire year of math curriculum in one binder. So, it’s easiest to put each unit in its own binder. This makes it easy to find things and return errant pages to the correct binder. It also means you don’t have to lug around heavy binders – just a slim one-inch binder should be enough to contain a unit’s worth of material.
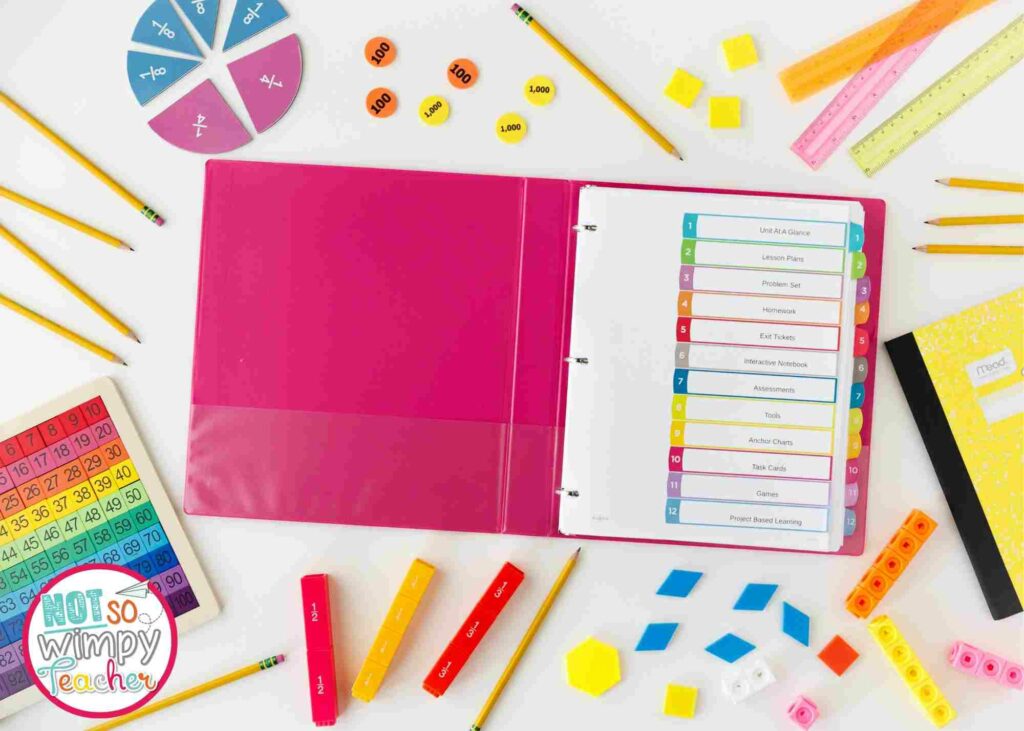
Then organize each binder by lesson. I like to use a simple table of contents and tabbed dividers.
This binder method is still a valuable way to organize your math materials even if you are using a school-based curriculum. You will still need to print out all of the student pages, assessments, tools and resources, PowerPoint slides, etc… and keep them organized from year to year. So, I highly recommend that you still use binders to organize your math curriculum.
Shop This Post
Organizing Manipulatives
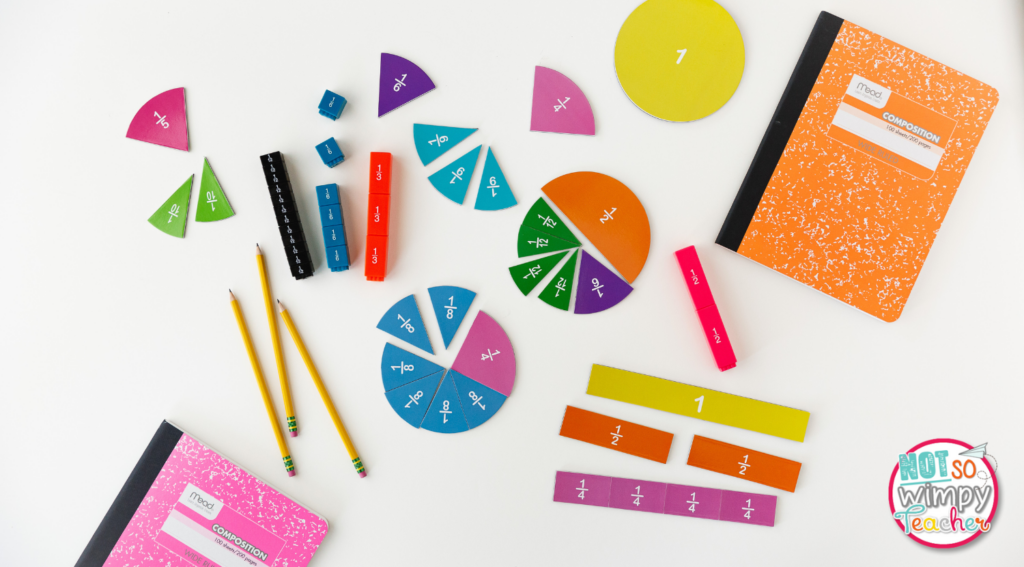
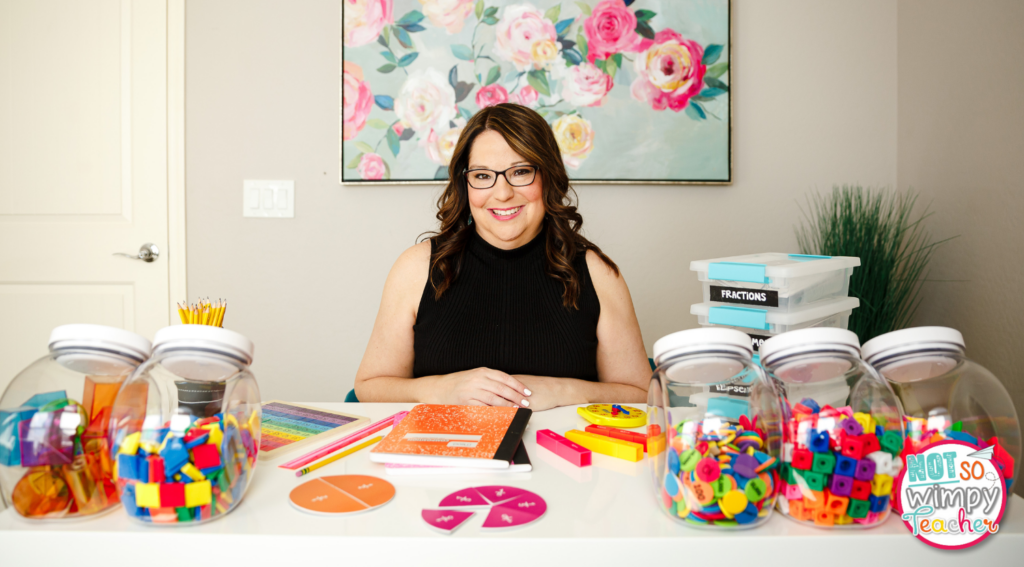
I love using manipulatives to teach math. Building math problems with concrete objects really helps students develop mathematical thinking and understand complex concepts. I have lots of different types of manipulatives, from counters and shapes to base ten blocks and fraction strips to clocks and money.
I recommend storing your manipulatives in a large clear container. Clear containers are great because you can easily see the manipulatives without having to open and close containers. At the start of each unit, I’ll select the most appropriate manipulatives for the lessons and separate them into individual student containers. Clear plastic containers or pencil pouches work great.
I use manipulatives primarily in small groups. The great thing about using manipulatives in small groups is that you only need enough individual sets as the number of students in your largest group. If you have groups of 5, 6, 7, and 8 you would only need to make 8 sets of manipulatives.
Organizing Centers
Prep your centers
Finally, let’s talk about organizing your math center materials. First, you need to select your math center activities. I recommend that you select eight to ten center activities and that you keep them the same for each unit. You don’t want to be scouring Pinterest the night before you start every new unit looking for new center activities. Also, keeping your centers the same throughout the year will make it easier for students to work independently.
If you’re looking for ready-made math centers, you’re in luck. I’ve created math center bundles for grades 2-5. These bundles contain 9 sets of 10 hands-on center activities, including matching, sorts, writing about math, task cards, and more to help students practice math skills.
Shop This Post
I also recommend that you take some time to start prepping your center materials now. The more centers you have ready to go, the less stressed you’ll be during the school year. Don’t think about just prepping one day at a time, rather, focus on an entire unit, or even the entire year.
You’ll want to print, copy, cut, and organize your center materials. Remember, even if you have twenty-five kids in your class, you DO NOT need twenty-five sets of center materials. You only need one set of each center (two if you have an exceptionally large class or you just like to be prepared).
Remember, you want to be able to use these materials from year to year. So, it’s worth a little bit of extra effort and money to make your materials durable. Try using cardstock and laminating materials that you will use repeatedly.
I also recommend printing different units (or activities) on different colored paper. This makes it much easier to recognize which pieces belong where. I also like to number each item with the unit and center number. When a piece inevitably winds up on the floor, it’s easy to put it away in the correct place.
Storing your Center Materials
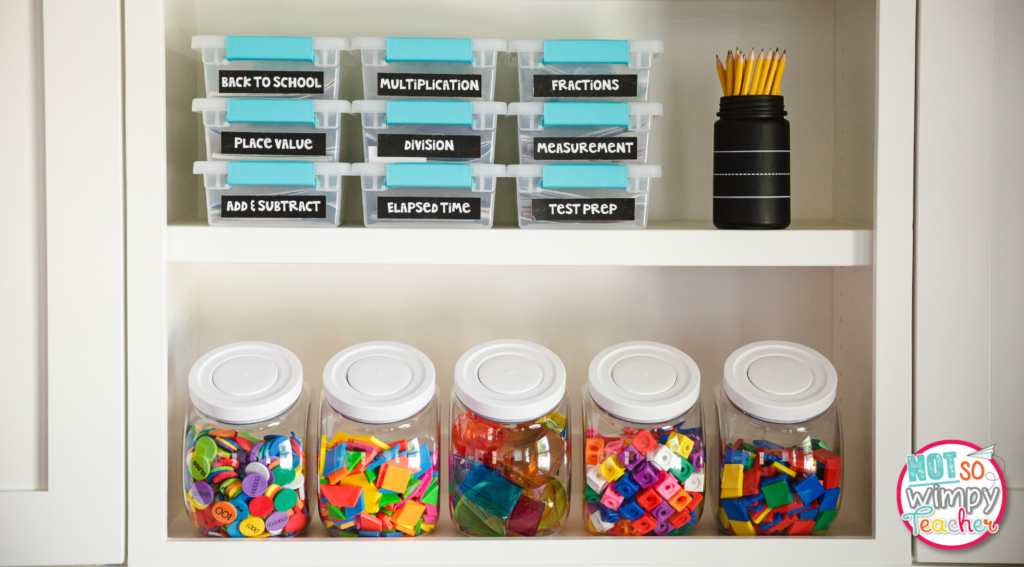
Once your centers are prepped, you need a way to organize your math materials when they are not being used. Remember, you are only using one set of centers at a time.
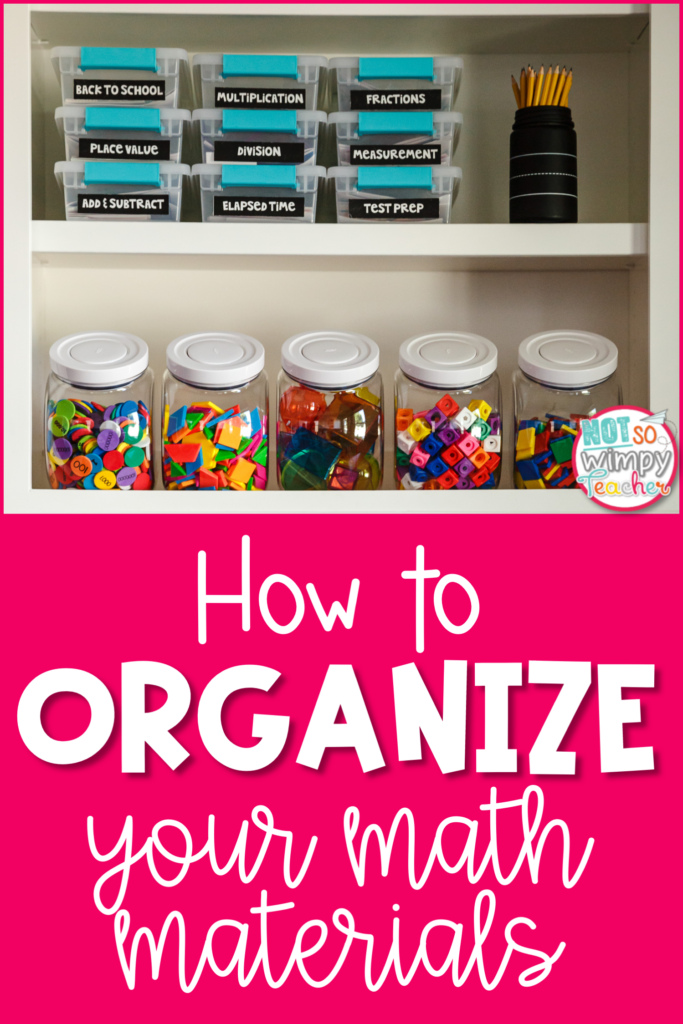
I recommend using small plastic containers to store any center materials that are not in use. I know classroom space is at a premium, so you want to keep your containers as small as possible. Each of these options will hold all ten centers for each unit.
These are my very favorite containers for storing math centers.
They are 11 x 6.88 x 2.75 in. You can find them on Amazon. If you are using our math centers you will need 9 containers to hold all 9 units.
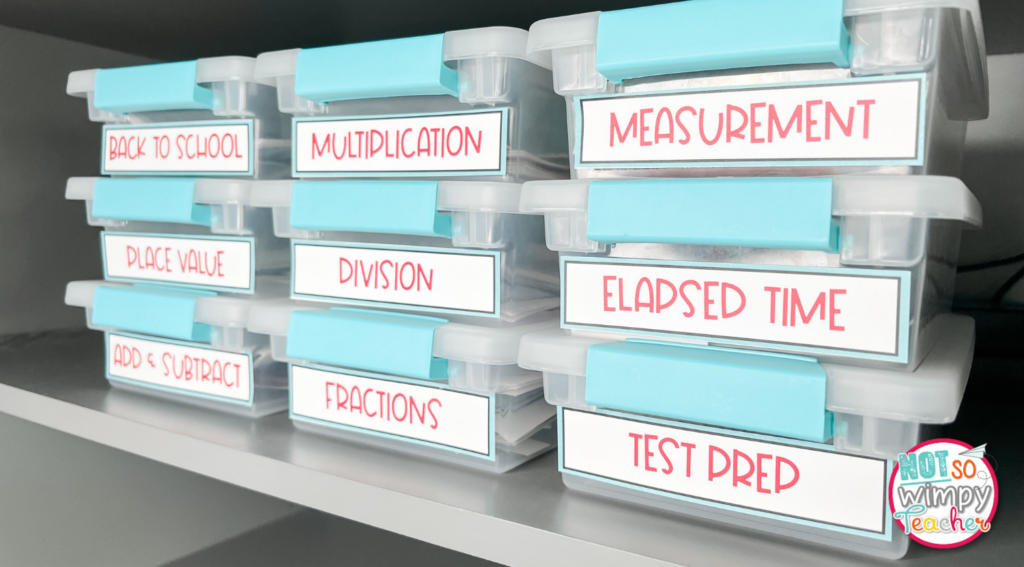
If you don’t want to go the container route, you could also use plastic envelopes to organize your math materials. These 10 X 13 letter sized plastic envelopes with zip closure are another space-saving way to keep center materials organized.
A third option is plastic drawers. These drawers come in a set of three. So if you are using the Not So Wimpy math centers you would need three sets of these drawers. The drawers measure 8.5″D x 7.25″W x 6.9″H and you can get them at Walmart or Target.
Organize the Math Materials for Centers In Use
You also need an easy way to organize the math center materials you are currently using. Each of my math centers has ten different activities. I keep all of the activities in a separate container, so it is easy for students to grab the activity they need and to make sure that all the activity materials stay together. The primary objective is making sure the centers are easy to access and maintain.
One way to store the center activities we are currently using is another set of the same plastic containers I used to organize the different centers. Instead of labeling them with the center name, I just label them 1 through 10. At the end of each unit, I swap out the activities for the next skill we are working on.
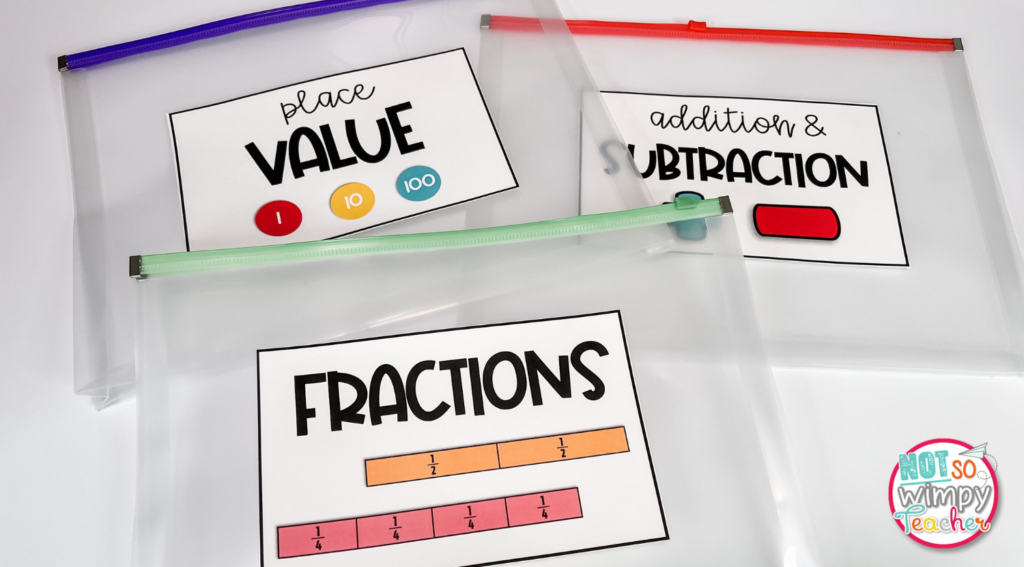
You can also use pencil pouches numbered 1 through 10 to store the centers you are working on. I like to store the ten pouches in a mini crate to keep everything organized. Again, when you finish one set of centers, return those activities to their container labeled with their skill and put the next set of activities in the pouches.
Plastic envelopes are also a great way to organize the centers your students are working on. These business-size envelopes are sturdier than plastic bags and the zippers make them easy to open and close. A carefully closed envelope is important so that you don’t lose any pieces. These envelopes store nicely in a small crate or a magnetic box that you can attach to your whiteboard.
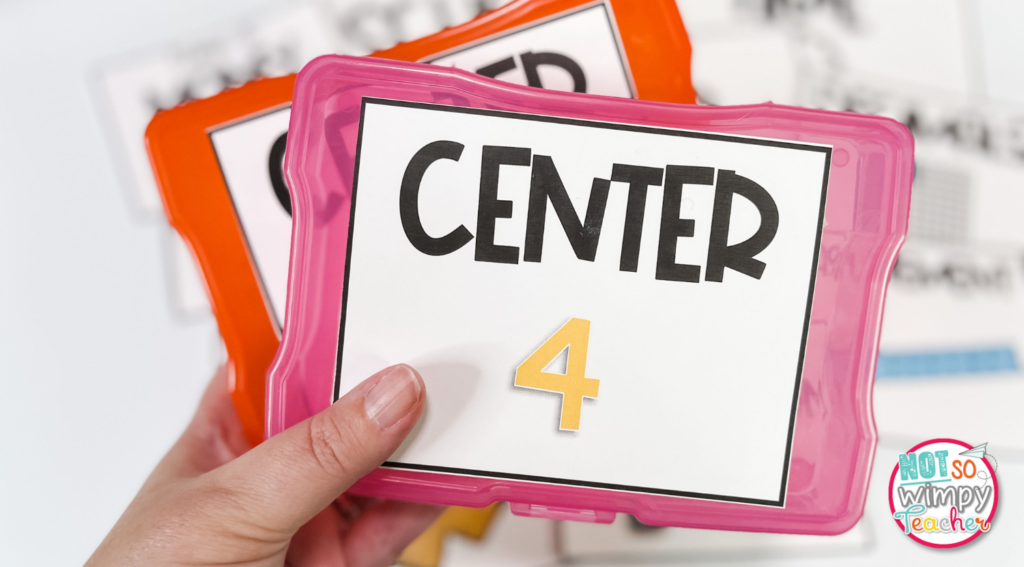
Finally, you can also keep your center activities in photo boxes. These colorful boxes are a fun and easy way to keep track of your center materials. You could keep all of the photo boxes in a large crate.
Want to snag my math center labels and math center manipulatives labels? Check out my FREE Complete Guide to Organizing Your Math Centers and Math Manipulatives. My guide will help keep your math centers and math units organized, and it comes with FREE labels for all of your math centers materials. The guide includes colorful labels for your math manipulatives and three different-sized options of labels for your math centers storage containers.
Work With Me
Do you want to make your math class awesome?
I’ve created an online professional development course for teachers in grades 2-5 to help transform your math block from average to awesome! The Not So Wimpy Math Masterclass is my math-a-magical solution to an easy and effective math workshop.
In this course, I will show you how to manage a fun, engaging, chaos-free math workshop, so you can create a classroom full of confident students who LOVE math!
When you adopt the Not So Wimpy approach to teaching math –
- Planning, prepping, and teaching lessons will be simple
- All your students will experience growth and develop confidence
- You’ll have multiple daily opportunities to easily differentiate lessons
- Students will develop a deep mathematical understanding
- Behavior problems will be reduced
This tried and tested process for teaching math works with any curriculum. And all it takes is 60 minutes a day.
The Not So Wimpy Math Masterclass is entirely online and self-paced. You take it when you want, where you want, and watch as many times as you want. Professional development doesn’t get any easier.
Enroll today!
Have a Not So Wimpy Day,





 End of Year Carnival Week for grades 2-5!
Jamie,
I really love the clear glass/plastic jars with white lids for storing math manipulatives that you have in many of your pictures. Where can I purchase these? Thank you!
Hi Karen,
Those jars are OXO Pop 5 Qt Airtight Cookie Jars purchased from Target.
Thanks so much, Jamie!
I can’t find the link to those paper-sized bins with lids you said were on Amazon. Would you mind sharing?