If you have been following me for a while, you know how much I loved using centers in my classroom! Math and reading centers are engaging and make differentiation a piece of cake. (If you are looking for more information about math centers, you can check out THIS blog post or THIS video series.)
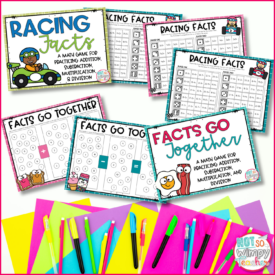
My math centers for grades 2-5 are very popular, and I also have reading centers for second and third grade. Teachers love having the activities prepped and ready to go for their students.
That being said, I get questions every day about prepping centers. I thought that it might help everyone if I publicly shared my favorite tips. Enjoy!
Printing
Some teachers have trouble getting their printers to print centers. Either they get weird lines through the centers or their printer just has trouble flattening the file. The reason is that the centers have lots of layers and images on them. This can especially be tough on older printers. No worries! There are simple fixes for this!
First, before you even go to print your centers, update your Adobe Reader. Adobe has updates like a jillion times a day. (I’m only being slightly sarcastic here.) I set my computer to automatically update. I know this is tougher at school. My school’s Adobe was ALWAYS out of date.
Next, set your printer to print as an image. This will make the file flatten faster, and your printer will like you more. This option is found under the advanced printer setting.
These suggestions fix 99.9% of the printing challenges. If you are part of the unlucky .1% that are still having trouble, I HIGHLY recommend putting in a help ticket with TpT. They have a team of people that are awesome with printer troubleshooting! (Just click on HELP in the top right-hand corner of the TpT home page.)
Paper
I personally print my centers on cardstock. I like them to be thick and durable because I don’t want to have to print them again next summer.
That being said, if you have a good laminator, you can get away with printing the centers on regular copy paper.
If you are using the backline option, you might want to consider printing each of the 10 centers on different colors of paper to help keep the center pieces together.
Laminating
I laminate all of my centers. Again, I want them to last more than one year. It’s cheaper to laminate now than it is to print and prep new centers every year.
I DO NOT cut out my centers before laminating. To save time, I only cut after laminating.
I do have a personal laminator and I think that it works much better than the laminator my school had. The laminating pouches are thicker and so I have never had trouble with the lamination pealing.
Cutting
If you have a good paper cutter, you can save yourself lots of time by cutting the centers with it instead of scissors!
As you are cutting, you might want to write center numbers on the back of the cards. I think this is especially helpful if you are using the blackline version of the centers. I don’t do this because I used the color version, and my students can tell which centers the pieces belong to based on the background color.
Organizing your center materials
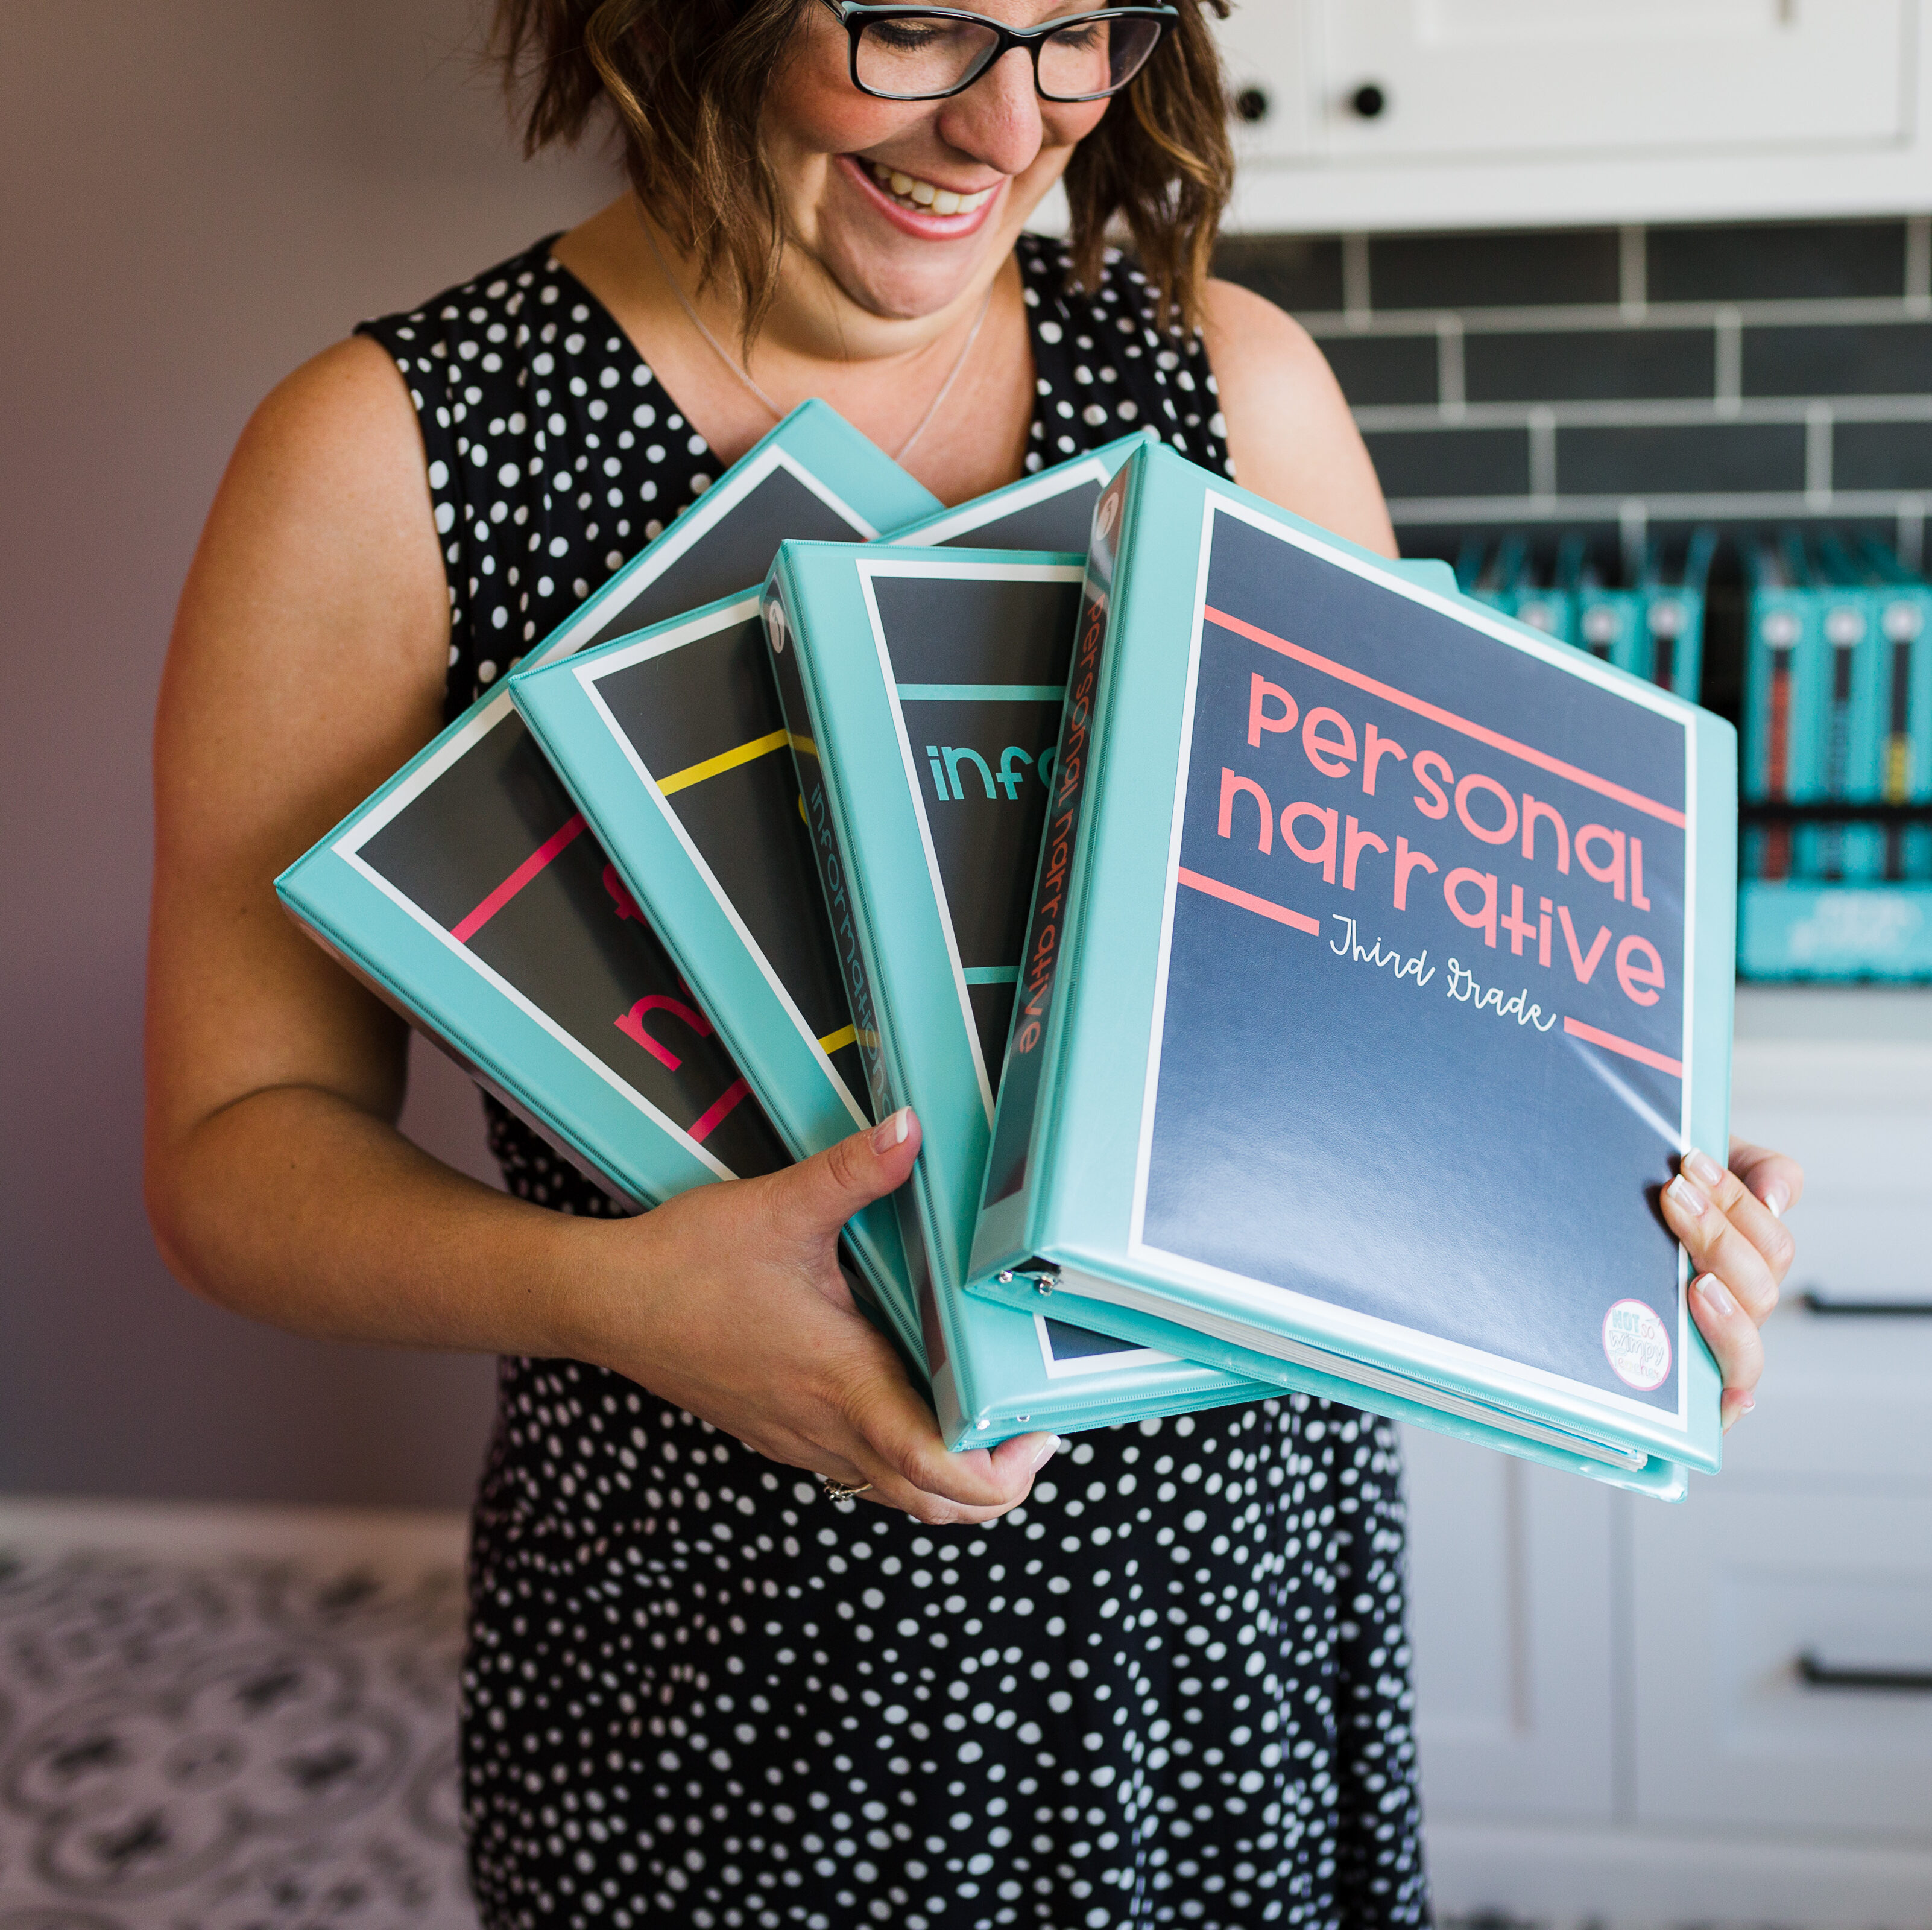
I wrote THIS post all about organizing your center materials. In the post, there are TONS of different options and even FREE labels.
I also have THIS video that basically goes through the same ideas if you prefer to watch rather than read.
Need more ideas for organizing your math center materials? Save time, reduce stress, and eliminate clutter with my simple step-by-step process for prepping, storing, and organizing math materials. My FREE Complete Guide to Organizing Your Math Centers and Manipulatives has everything you need to make it easy for you and your students to find what you need quickly. Plus, FREE math center labels and math manipulative labels are included!
I hope that these tips for organizing your center materials are helpful!
Have a Not So Wimpy Day,








 End of Year Carnival Week for grades 2-5!
Leave a Comment